Tuesday, November 30, 2010

No-Sew Felt Playhouse Tutorial


A few weeks ago I shared this tutorial over at Dollar Store Crafts.  Today I'm going to share it here as the perfect holiday gift for the kiddies (or to keep said kiddies busy while you do a bunch of other holiday things).  Easy, fun & cheap. You can't go wrong!

You've probably seen the usual felt playhouse that fits over a card table.  Kids & adults both love them, but they aren't the easiest thing to make.  Being so big, they involve a lot of sewing and time.  I made this Shop-Around style one for my own kiddies earlier this year and while we love it, it did take a lot of work:


So I came up with a method so anyone could make one in one day and for way cheap.   If you can use scissors and glue, YOU can make a felt playhouse like this.  

You'll need:
- Table your playhouse will cover
- Felt by the yard (available at fabric store for just a few dollars/yd)
- White Glue (available at the dollar store or just about anywhere)
- Scissors
- Yardstick
- Tape Measure
- Fabric marking pen or chalk

First you'll need to measure your table to figure out your felt size for the roof & walls.  To make it easy I used one long piece to cover the top &  2 sides and then two other pieces for the remaining sides.

For your long piece measure from the bottom of one side up over the top & back down to the bottom of the other side to get the length, then measure across one side to get the width and add 8 inches to the width (this is for the no-sew attachment).  For the two smaller sides measure from bottom to top of table for length and add 4 inches, then measure width and add 8 inches.

Cut pieces so you end up with 3 pieces that look like this:


Now you'll need to cut the fringe that will knot the sides together (just like no-sew fleece blankets).  Place your smaller side pieces on top of the longer rectangular piece like this:


Place a yardstick 3.5 inches from the raw edges of one of the long sides and begin cutting strips one inch apart, stopping at the roof section between the stacked side pieces:


The yardstick will help keep all the strips exactly the same size which is important for tying later.


Now you'll want to cut the strips that will tie the top to the side walls.  Cut 4 inch squares out of  those corners:


Line the side piece up with the roof section of the long rectangle and cut 1 inch strips as done previously.   


Repeat with remaining sides. Now beginning at the roof & side section, start double knotting the strips together like so:


Continue knotting the sides together so that a finished side will look like this:


Repeat to finish the other side.  Now it's ready to decorate.  Cut windows & a door (using the yard stick & marking pen or chalk to mark the lines and decide on placement before you cut) and then let your imagination run wild with added design elements that you simply glue on.  

I kept this one simple to stick to the 1-day timeframe, by adding shutters & window boxes:


A tree & birdhouse:


And some colorful flowers cut with my Cuttlebug (but could also be done by hand):


On the front I added some grass, butterflies, mailbox pocket & house number:


Now it's ready for some little residents!  The possibilities are endless and with all the time saved not having to sew it together, you can add all kinds of fun details.  For some more felt playhouse design ideas, just click here.

Sharing this with my FAVE LINK PARTIES too so check them out HERE!

Monday, November 29, 2010

End of November Craftastic Monday


I hope everyone had a great Thanksgiving last week.  The little break gave me some time to get caught up on some stuff, which means there are a bunch of fun things coming soon.  So be prepared for December to be Craftastic all month long! 

Let's take a look at some of the goodies from last week's Craftastic Monday party:

Spunky Junky rocked it out of the craft park with her tutorial for tissue paper Christmas trees.  Stylish, inexpensive & fun to make.  Love it!


I'm also in love with Shape Moth's super cute little fawn wristlet.  That baby deer applique is so sweet I may have to borrow this look for use on a baby shirt.


Photobucket
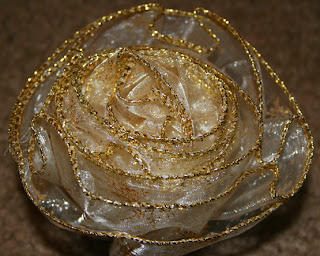
This week I'm doing a Handmade Holiday's feature from each of the 3 categories.  The featured Project is from The House of Beauty & Culture.  She showed how to make some gorgeous, festive flowers and wreaths with wired ribbon.


The Handmade Holidays Recipe is from Odd Dotty Dollymaker.  She shared her Egg White Cookies (renamed Reindeer Poop by her kids).  Now I know eating anything with "poop" in the name sounds....well, we know how it sounds.  But I was willing to get passed that for the combo of chocolate chips, candy canes & meringue.  Now that's just delicious, so call it whatever you want.


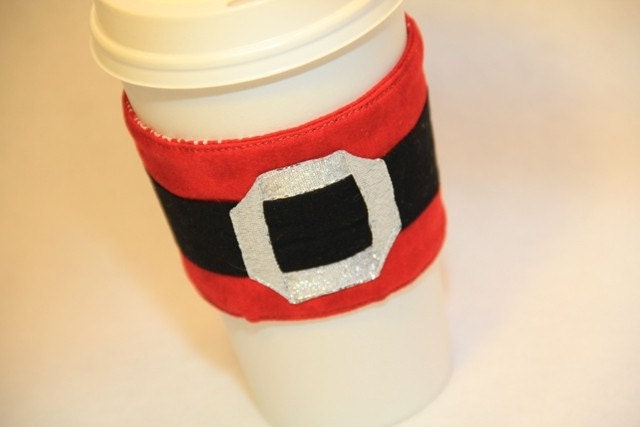
And for our Handmade Holidays Gift item, check out Crafty Staci's shop for Reversible Coffee Cup Sleeves.  There are several with cute holiday themes like this Santa Belt that reverses to Ho, Ho, Ho print.  Cute and cozy!


If you've got a holiday tutorial, recipe or sell your handmade holiday items, click on the Handmade Holidays tab at the top of the blog & link up your items (there's a spot for sellers which includes Etsy shops!!).  I'll be featuring some items each week, so be sure to grab the Handmade Holidays button.
Link up your Craftastic goodies below.  Here's how:

  • As long as it's crafty and made by you it's Craftastic. Just add the link to your specific post (not the main page of your blog).
  • Grab my party button on the sidebar & put it on your post or blog. 
  • Check out some of the other great links and share some crafty comment love.


Friday, November 26, 2010

Black Friday Giveaway!


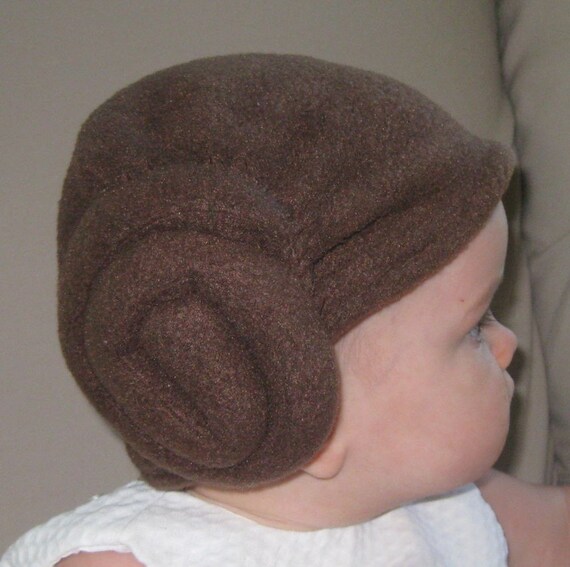
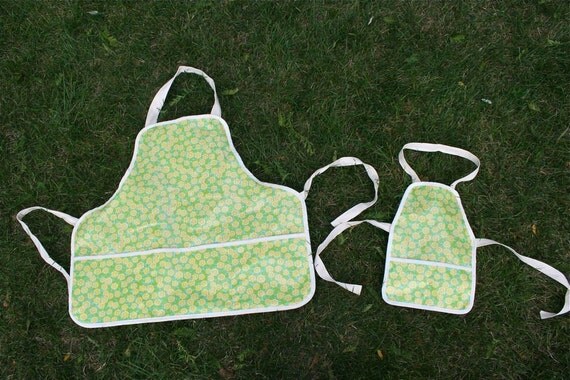
I'm sponsoring one of the Black Friday Giveaway's over at Flamingo Toes.  The winner will receive the pattern of their choice from my shop, The Green Hedgehog.  You could pick my pattern for this:


or this:


or this:


Click HERE to head on over to enter for a chance to win.  The giveaway is open until December 2, so unlike other Black Friday deals, this giveaway doesn't end too soon!

Wednesday, November 24, 2010

For When You Can't Craft 'Em All: Shutterfly


When you're into crafting, this time of year is a blessing & a curse.  Several holidays back-to-back which are all about decorating, food, special clothing & gifts.  It's a lot of fun.  And a lot of work.  You can't hand craft EVERYTHING.  And to avoid crafter's burnout I don't even want to try.

So I was thrilled to see Shutterfly can give you some crafty-style paper goods on the cheap.  Some are under 50 cents each, so you can have that crafty, personal look without spending countless hours (and a small fortune) making it all yourself.  Don't worry, I won't tell!

And because I like thinking beyond the usual "family portrait" cards, you can also make some great things like:

- The perfect advertisements for your Etsy shop with their holiday cards:


- Or really cute, personalized holiday gift tags for your crafty handmade presents:


And one thing which I've been planning as a Christmas gift for my kids is photo story book.  I made some vignette photos using their wooden animal toys a while back and am going to turn it into a book using Shutterfly's photo book option and more of these pics:


I think they'll really enjoy reading a story that takes place in their own backyard with some favorite toys as the characters.  I'll be posting more about that once I get it put together.

If you've got a blog, Shutterfly is offering the opportunity to get 50 free holiday cards, so head over & see how you can score some awesome cards of your own.

Monday, November 22, 2010

A Thankful Craftastic Monday

Happy Monday Everyone! Let's kick off this Thanksgiving week by announcing the winner of the giveaway for a $50 gift certificate to FOE Your Diaper.  It was comment #:


Congratulations to Kelly who commented:


Have fun shopping for some fab FOE and thanks again to our giveaway sponsor FOE Your Diaper!

Check out pretty this laundry room makeover at Straight Stitches.  I love the clothespin border made from silver contact paper!


I like the uniqueness of this cool zip-up card by Sandy's Space:


Chantal Vincent Art made some beautiful floral carved rubber stamps:


And for this week's Handmade Holidays features -

Scrapalicious Bytes shows how to make this tasty Pomegranate Molasses for the holidays:


If you've got a holiday tutorial, recipe or sell your handmade holiday items, click on the Handmade Holidays tab at the top of the blog & link up your items (there's a spot for sellers which includes Etsy shops!!).  I'll be featuring some items each week, so be sure to grab the Handmade Holidays button.

 If you've got some non-holiday projects,

link up your Craftastic goodies below!  


  • As long as it's crafty and made by you it's Craftastic. Just add the link to your specific post (not the main page of your blog).
  • Grab my party button on the sidebar & put it on your post or blog. 
  • Check out some of the other great links and share some crafty comment love.
Got a Holiday project?  Click HERE to add it to the Handmade Holidays party - Etsy shops are also welcome there!


Saturday, November 20, 2010

Last Day: $50 FOE Gift Certificate Giveaway

Just a reminder that today is the last day to enter the Giveaway for a $50 Gift Certificate to FOE Your Diaper.

What couldn't you do with some awesome elastic like this:


or maybe this:


Don't let the name of the shop fool you, FOE (fold-over-elastic) has TONS of uses besides diapers as you can see from all my FOE project posts & tutorials this week.


There are loads of easy ways to get extra entries too, so just click HERE to get all your entries on!  The giveaway ends at 11:59EST today.  Good luck!

Friday, November 19, 2010

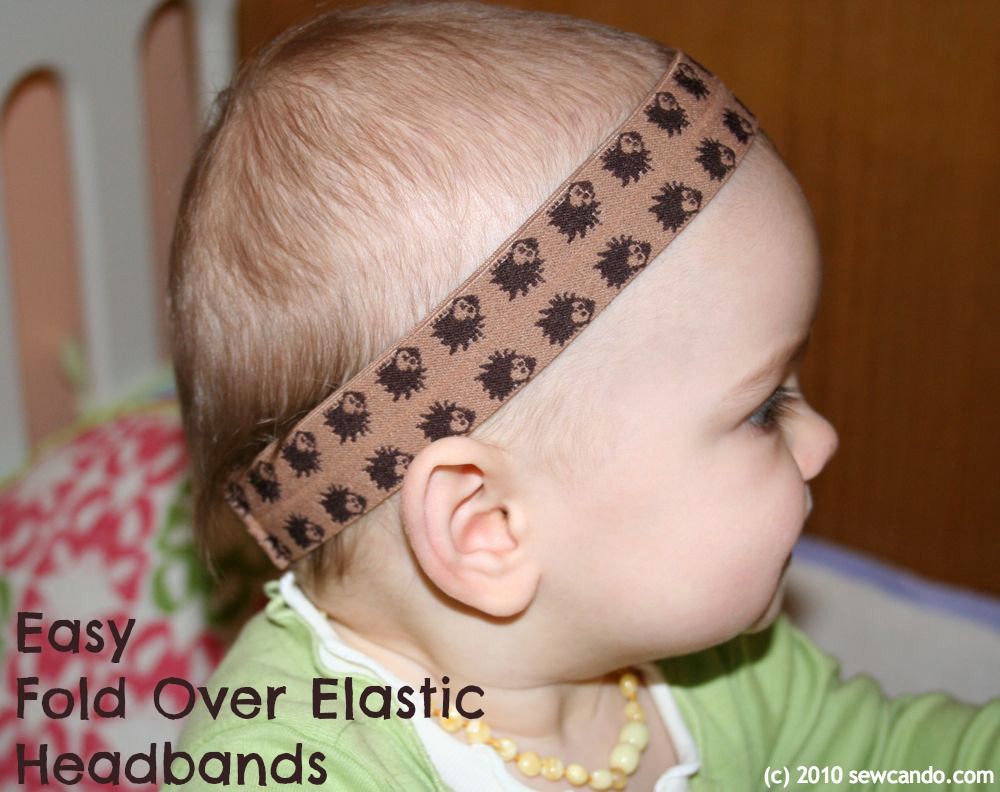
Fold-Over-Elastic Headband Tutorial


Today's project is super fast & comfy: a headband made from FOE.  With all the cute prints and fun colors of FOE, it's cheap & easy to make some gorgeous headbands.  You can make 'em small for a baby or size 'em up to wear yourself.  

Here's how to make your own headbands under 5 minutes:

Measure head to get size and add 1.25 inches.  With wrong sides together, stitch .25 inch from raw edges:


Then fold right sides together so the raw edges from the seam you just made are "enclosed" and then flatten against one side like this:


Stitch close to the edge of the fold just made:


Then stitch down .25 inch to the left of the seam just made so all the folds will lie flat:


Now the headband is ready to wear!


I liked using cute printed FOE, but you can do the same with the solids and then decorate them with bows, flowers or other embellishments by attaching them with a dab from a hot glue gun.  Easy, comfy & bargain friendly!!

And they look super cute with matching FOE Cuddle Bug Legwarmers (as seen in yesterday's post).


Want to win some FOE?  Come on, you know you do!  Click HERE to enter this week's giveaway for a $50 gift certificate to FOE Your Diaper.  The giveaway ends at 11:59pm EST tomorrow and there are loads of ways to get extra entries, so get those entries in now!


LinkWithin

Related Posts with Thumbnails